Unlocking the Potential of ADU Construction in California: A Comprehensive Guide
Are you looking for a way to increase your property’s value, generate rental income, or create more living space for your family? Accessory Dwelling Units (ADUs) might be the perfect solution. Whether you’re in California or anywhere else, building an ADU can be one of the smartest decisions you make for your home. The good news? ADU construction in California is easier than ever with new state laws designed to streamline the process.
In this step-by-step guide, we’ll walk you through everything you need to know about how to build an ADU in California from understanding what an ADU is to navigating the construction process. Whether you’re planning to build an ADU in your backyard, convert a garage, or start from scratch with a new construction ADU, you’ll gain valuable insights into the ADU requirements and costs involved. Let’s get started and turn your property into a space that works harder for you.
What is Accessory Dwelling Unit Construction?
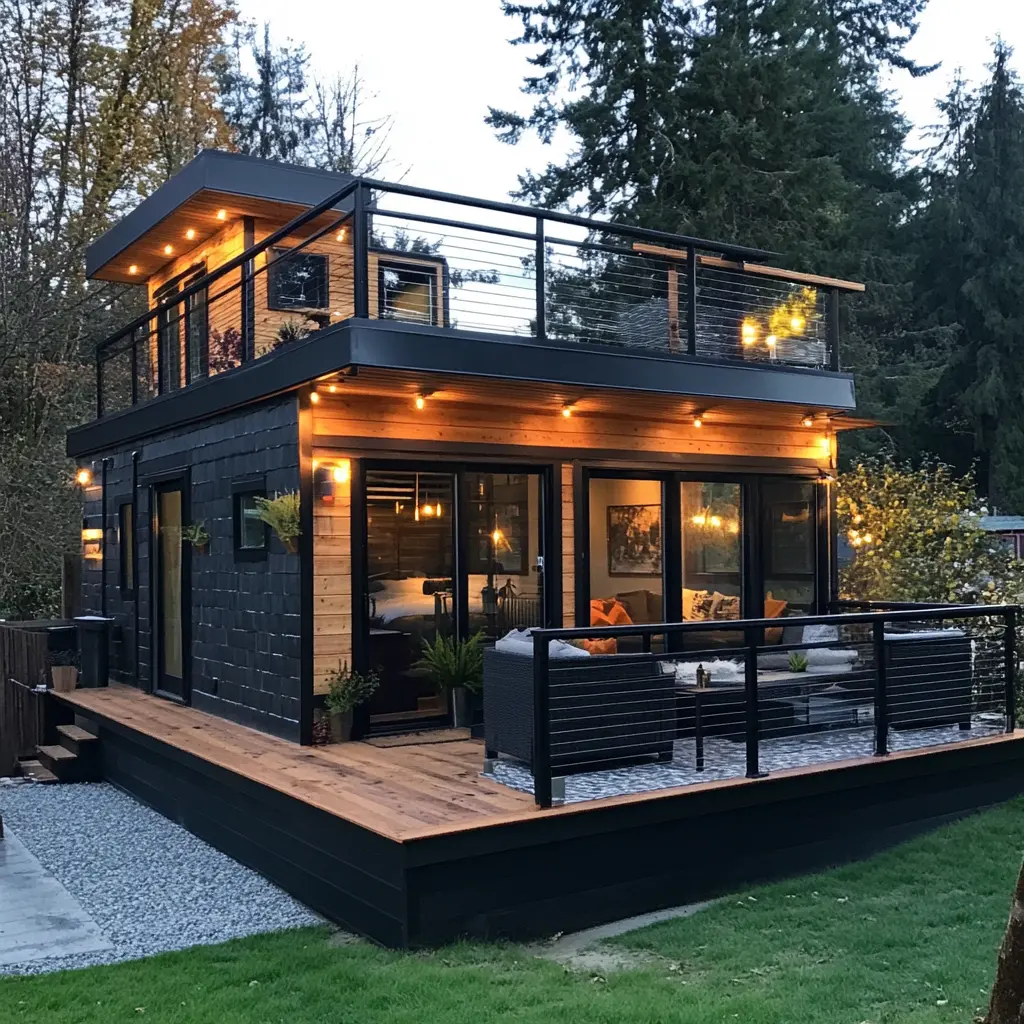
An Accessory Dwelling Unit (ADU) is a self-contained living space on the same property as a primary residence. The term ADU construction refers to the building of these secondary units, which can vary in design from detached ADU builds to conversions of existing structures like garages. Whether you’re looking into building an ADU in California or elsewhere, accessory dwelling unit construction provides homeowners with opportunities for rental income, multi-generational housing, or more living space.
Key Differences Between ADU Construction and Regular Residential Construction
ADU construction differs significantly from building a home in that it usually utilizes existing infrastructure and is subject to different zoning laws. Building an ADU is typically less costly than constructing a new home because of the use of pre-existing utilities and the smaller scale of the project. This makes accessory dwelling unit construction an attractive option for homeowners looking to enhance their property value without the high costs of traditional home construction.
Who is Eligible to Build an ADU in California?
In California, virtually any homeowner with an existing primary residence on their property is eligible to build an ADU. Whether you own a single-family home or a multi-family property, you can benefit from the state’s relaxed regulations around ADU construction. This means that more homeowners than ever can add an ADU to their property, increasing their living space, potential rental income, and property value.
However, while state laws have streamlined the approval process and created incentives for ADU builds, local regulations still play a significant role in the feasibility of constructing an ADU. Local jurisdictions may impose additional criteria, such as restrictions on size, height, and the distance from property lines, based on geographical or environmental factors. For example, properties located in coastal zones or historic districts may face more stringent regulations due to environmental preservation concerns or zoning laws that protect the area’s historical value.

Your ADU, Built Faster Than You Think
We handle plans, construction, and finishes stress-free.
You dream it. We build it.
Benefits of Accessory Dwelling Unit Construction
Constructing an ADU in California offers numerous advantages:
Increased Property Value
One of the most significant advantages of ADU construction is the increase in property value. Adding an ADU to your property can boost its worth by up to 20-30%, depending on the size, design, and location. Whether you are building an ADU in California or elsewhere, it can substantially increase your home’s marketability, especially in high-demand areas like Los Angeles or San Francisco.

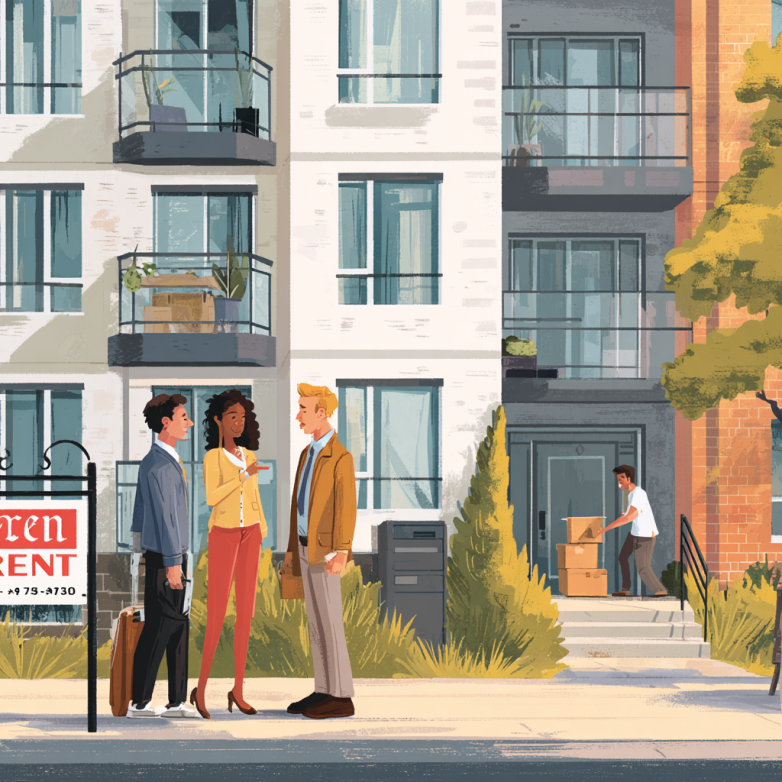
Rental Income Opportunities
An ADU is a great way to create a rental income stream. For instance, if you’re building an ADU in your backyard, it can provide consistent monthly rent, helping cover your mortgage or providing additional financial flexibility. If you are wondering, “Can I build an ADU on my property?”, the answer is likely yes, depending on your location and zoning laws.
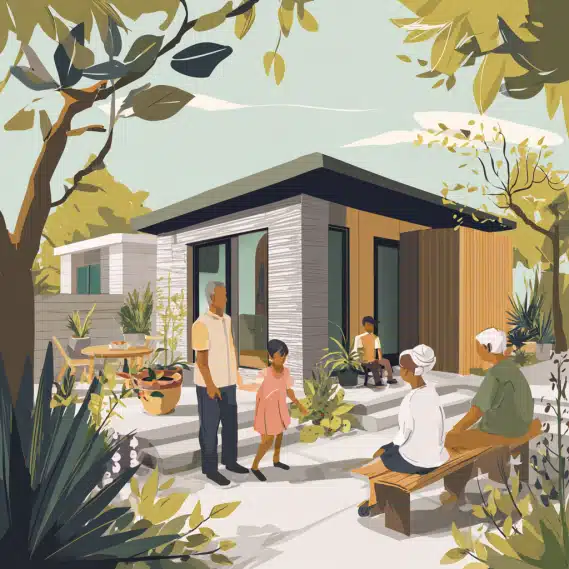
Multi-generational Living Solutions
An ADU can be a perfect option for multi-generational living. Whether you’re housing aging parents, adult children, or extended family, an ADU offers privacy while keeping everyone under one roof. The construction of ADUs provides a practical solution to modern family living arrangements.
What Are the Requirements for Building an ADU in California?
Building an Accessory Dwelling Unit (ADU) in California offers great potential, but before you begin, it’s important to understand the basic requirements. California has streamlined the process for homeowners, making it easier to add an ADU. However, you still need to meet local zoning laws and property regulations to ensure a smooth build.
First, make sure your property meets the ADU requirements and that local zoning laws allow for construction. Regulations can vary depending on the city, lot size, and property type. For example, most cities require the property to be at least 2,000 square feet to build an ADU.
Zoning Laws and Property Size Considerations
In California, zoning laws determine where and how you can build an ADU on your property. While state law permits ADU construction on properties as small as 2,000 square feet, local cities may have their own restrictions.
Key considerations include:
- Minimum Lot Size: Many cities require your property to be at least 2,000 square feet, though some areas, like Los Angeles, allow smaller lots with specific guidelines.
- Setback Regulations: These dictate how far your ADU must be from property lines. Setbacks can range from 4 to 10 feet, depending on the city and the type of ADU (detached, attached, or conversion).
- Height Limitations: ADUs are often capped at 16 feet in height, but this can vary by city. Be sure to check local zoning regulations.
| City | Minimum Lot Size | Setback Regulations | Height Limitation |
|---|---|---|---|
| Los Angeles | 2,000 sq. ft. | Typically 4 feet (detached) | 16 feet |
| San Francisco | 2,500 sq. ft. | 4 to 6 feet (detached) | 16 feet |
| San Diego | 4,000 sq. ft. | 4 to 10 feet (detached/attached) | 16 feet |
| Sacramento | 2,000 sq. ft. | 4 feet (detached) | 16 feet |
| Oakland | 2,000 sq. ft. | 4 to 5 feet (detached/attached) | 16 feet |
| Santa Monica | 2,000 sq. ft. | 5 to 6 feet (detached) | 16 feet |
| Long Beach | 3,000 sq. ft. | 4 to 5 feet (detached/attached) | 16 feet |
Tip: Always consult with your local planning department or use their online zoning maps to confirm your property’s eligibility for ADU construction before starting your project.
Key Regulatory and Permit Requirements
Before you begin building your ADU, it’s essential to understand the regulatory landscape, particularly when it comes to securing the right permits. While California’s state laws have made the ADU construction process simpler, local cities still have specific permit requirements that must be followed.
Here’s an overview of the key permits required for ADU construction in California:
| Permit Type | Description | Requirement |
|---|---|---|
| Building Permits | Required for the overall construction of the ADU. Ensures the structure complies with safety codes. | Mandatory in all cities |
| Electrical, Plumbing, and Mechanical Permits (MEP) | Required for work involving electrical, plumbing, or HVAC systems. Ensures safe utility installation. | Required for any utility work |
| Environmental Review | Required in environmentally sensitive areas, like flood zones or wildfire-prone zones. | May be required based on property location |
| Design Review | Some cities require review to ensure the ADU fits with the neighborhood’s aesthetic. | Required in cities like San Francisco and Los Angeles |
Tip: Make sure to consult with your local planning department early in the process. Many cities, such as Los Angeles and San Francisco, offer pre-application consultations to help guide homeowners through the permit process. This can save you time and money by clarifying what permits are necessary and how long approvals will take.
Real Data: As of 2023, California has drastically reduced ADU approval times. Most cities are required to approve or deny your ADU application within 60 days for a new build or 120 days for a conversion, much faster than traditional residential projects.
By staying on top of these permit requirements and working with your local department, you can avoid delays and get your ADU project off the ground with ease.

Let the Experts Talk to the County for You
We manage all planning, filing, and permit steps.
200+ approved ADUs speak for us.
Types of Accessory Dwelling Unit Construction
In California, there are several types of Accessory Dwelling Units (ADUs), each offering different benefits based on your property’s layout and your personal needs. Whether you’re looking for more rental income, extra living space, or a separate area for family members, there’s an ADU type that can suit your goals. Let’s explore the most common types of ADUs and the key factors to consider for each option.
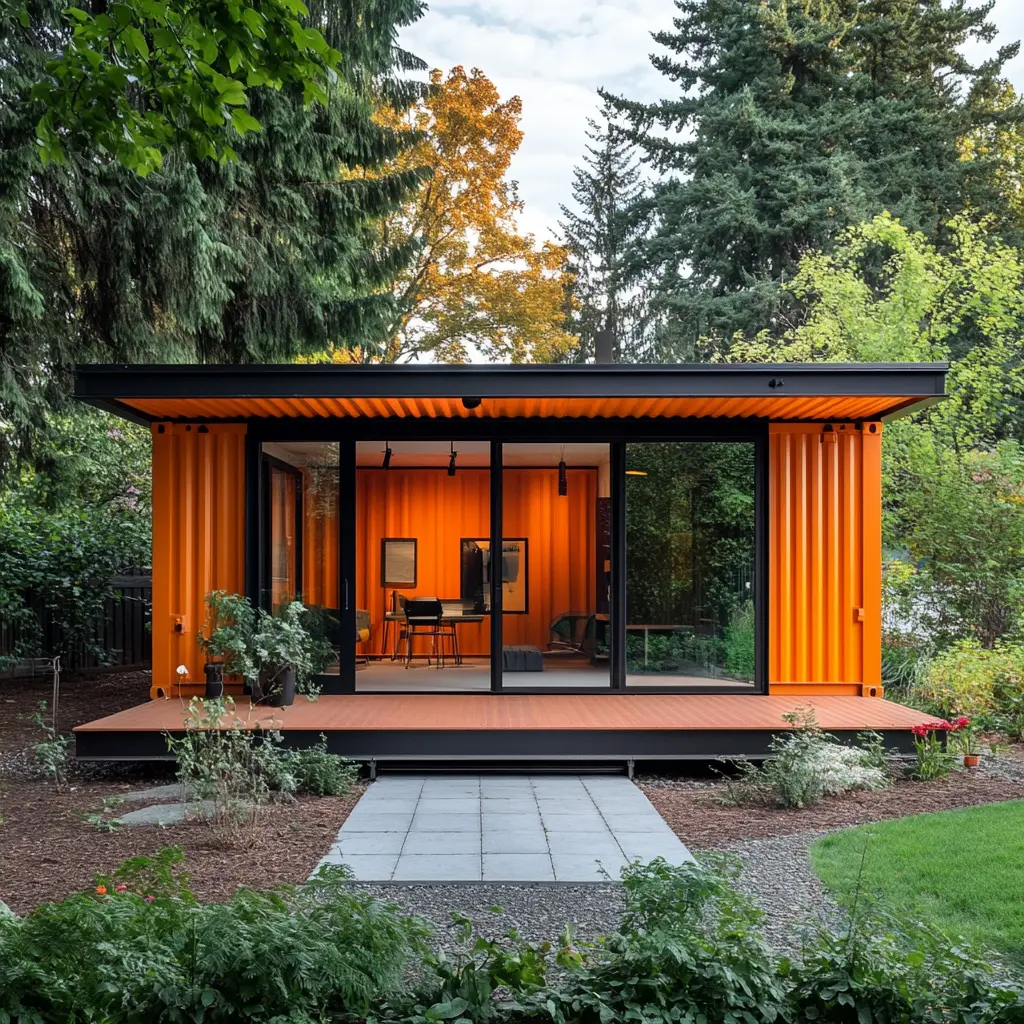
Detached ADUs: Standalone Living Spaces for Maximum Privacy
A detached ADU is a free-standing unit built on the same lot as the main house, offering a completely separate living space. These units are highly valued for their privacy and are commonly used for rental income or as independent living spaces for family members.
Key Considerations:
- Detached ADUs are typically limited to a maximum of 1,200 square feet under California’s statewide regulations.
- Cities like Los Angeles allow detached ADUs with minimal setback requirements, often as low as 4 feet from property lines.
- Detached ADUs are popular in suburban areas, as they provide homeowners with more privacy and potential for rental income.
Tip: If you’re considering building an ADU in your backyard, be aware of the setback regulations and ensure your lot meets the size requirements for a detached unit.
Attached ADUs: Maximizing Space Without Expanding Your Lot
An attached ADU shares a wall with the main house but has its own private entrance. These units make the most of available space, which is perfect if you’re working with a smaller lot but still need more living space. They are often more affordable to build compared to detached ADUs since they don’t require new foundation work.
Key Considerations:
- Attached ADUs are typically limited to 50% of the main home’s square footage, up to a maximum of 1,200 square feet.
- Cities like San Francisco have seen a rise in attached ADUs, particularly for homeowners looking to expand without sacrificing outdoor space.
- Setback requirements for attached units may be less strict, but still vary depending on local regulations.
Tip: If you’re considering building an ADU in your backyard, be aware of the setback regulations and ensure your lot meets the size requirements for a detached unit.
ADU Conversions: Turning Existing Structures Into Efficient Living Spaces
One of the quickest and most affordable ways to add an ADU to your property is by converting an existing structure, such as a garage, basement, or attic. Conversions are an excellent choice for homeowners who have unused space but don’t want to invest in full construction. These types of ADUs can be completed faster and at a fraction of the cost compared to building from scratch.
Key Considerations:
- Garage conversions are among the most popular in California due to their affordability. The state has made it easier for homeowners to convert garages into ADUs with streamlined permitting processes.
- In Los Angeles, a garage conversion can typically be completed for around $50,000 to $150,000, depending on the size and required upgrades.
- Local permit fees for ADU conversions are often lower than those for new builds, making this an attractive option for budget-conscious homeowners.
Tip: If you’re wondering, “Can I build an ADU on my property?”, a conversion might be the easiest way to start. Just be sure to check if your garage or other existing structures meet the structural integrity and building codes for conversion into an ADU.
Step-by-Step Process for Accessory Dwelling Unit Construction in California
Building an Accessory Dwelling Unit (ADU) in California can seem like a daunting process, but breaking it down into manageable steps makes it much easier to navigate. From verifying zoning regulations to obtaining the final occupancy permit, each stage of ADU construction is important for ensuring your project meets local requirements and runs smoothly. Below is a step-by-step guide to help you understand what to expect during your ADU build and ensure you’re prepared every step of the way.
Step 1: Feasibility and Design
Before you start planning your ADU construction, it’s crucial to determine if your property meets the necessary zoning and lot size requirements. In California, most cities require properties to be at least 2,000 square feet to build an ADU. Once you’ve confirmed your property is eligible, the next step is to design your ADU. Whether you plan to go the DIY route or hire a contractor, having a solid design that aligns with your vision and meets local building codes will ensure a smooth construction process.
Tip: Always check with your local planning department for specific design guidelines and restrictions to avoid surprises during the approval process.
Step 2: Permitting and Revisions
Once your ADU design is ready, you’ll need to submit your plans for review. Permit requirements can vary by city, so it’s important to know what your area requires. You may need to apply for multiple permits, including building, electrical, plumbing, and possibly an environmental review. Local authorities may ask for revisions based on zoning laws or building codes, so it’s essential to be flexible and make necessary adjustments quickly.
Step 3: Site Preparation
Once your permits are approved, it’s time to prepare your site. Site preparation includes clearing the lot, ensuring that utility connections (water, electricity, sewage) are available, and leveling the ground if necessary. This step ensures that your ADU construction is built on a solid foundation and ready to proceed to the next stage.
Tip: Check if you need to install or upgrade any utilities before beginning construction, as this could affect your timeline and budget.
Step 4: Foundation and Framing
The foundation is the most critical aspect of ADU construction. Whether you’re building a detached unit or converting an existing structure, the foundation must be level and secure. Once the foundation is in place, the framing of the ADU begins, forming the walls, roof structure, and framework for doors and windows. This step sets the stage for the rest of the build.
Real Data: In California, the most common foundation types for ADUs are slab foundations or raised foundations depending on your location and design.
Step 5: Rough MEP (Mechanical, Electrical, Plumbing)
Once the framing is complete, the next step is to install the essential MEP systems: Mechanical, Electrical, and Plumbing. These systems must be installed before the walls and ceilings are closed up. Proper installation ensures that your ADU complies with California’s building codes and is safe for use. These systems must also pass inspection before proceeding with the next stage.
Tip: Hiring licensed professionals for these installations is critical to ensure safety and compliance.
Step 6: Exterior and Interior Finishing
With the rough MEP work done, it’s time to focus on both the exterior and interior finishes. For the exterior, this typically involves applying siding, installing windows, roofing, and ensuring the ADU is “weather-tight.” On the interior, drywall, flooring, paint, and fixtures will be installed, turning your space into a livable unit. This is the phase where your ADU truly starts to take shape.
Real Data: Depending on the size and complexity of the ADU, the finishing stage can take anywhere from 2 to 6 months to complete in California.
Step 7: Final Inspections and Occupancy
Once the construction is finished, your ADU must pass a series of final inspections by local authorities to ensure it meets all safety and building standards. This may include checks on electrical, plumbing, and structural integrity. Once everything passes inspection, you will receive an occupancy permit, and your ADU is officially ready for use. You can now begin using the space for rental income, family members, or whatever your original purpose was.
Tip: Keep in mind that the final inspection may take several days to schedule, so plan accordingly to avoid delays in moving forward.
Conclusion
Now that you understand the full process of accessory dwelling unit construction, it’s time to take the next step. Building an ADU in California not only offers potential rental income but can also provide a flexible living solution for your family. With the right planning, permits, and an experienced contractor, you can successfully build an ADU that enhances your property’s value and utility.
If you’re wondering, “Can I build an ADU on my property?”—the answer is likely yes! The opportunities for increasing your home’s functionality are endless. Don’t wait—start your ADU project today and create a space that fits your lifestyle and financial goals.
Ready to Build an ADU in California? We’ve Got You Covered!
Our experienced team ensures that your ADU construction meets all the local regulations and your unique needs.