



Bathroom Remodel Steps: A Step-by-Step Checklist and Timeline for California Homeowners
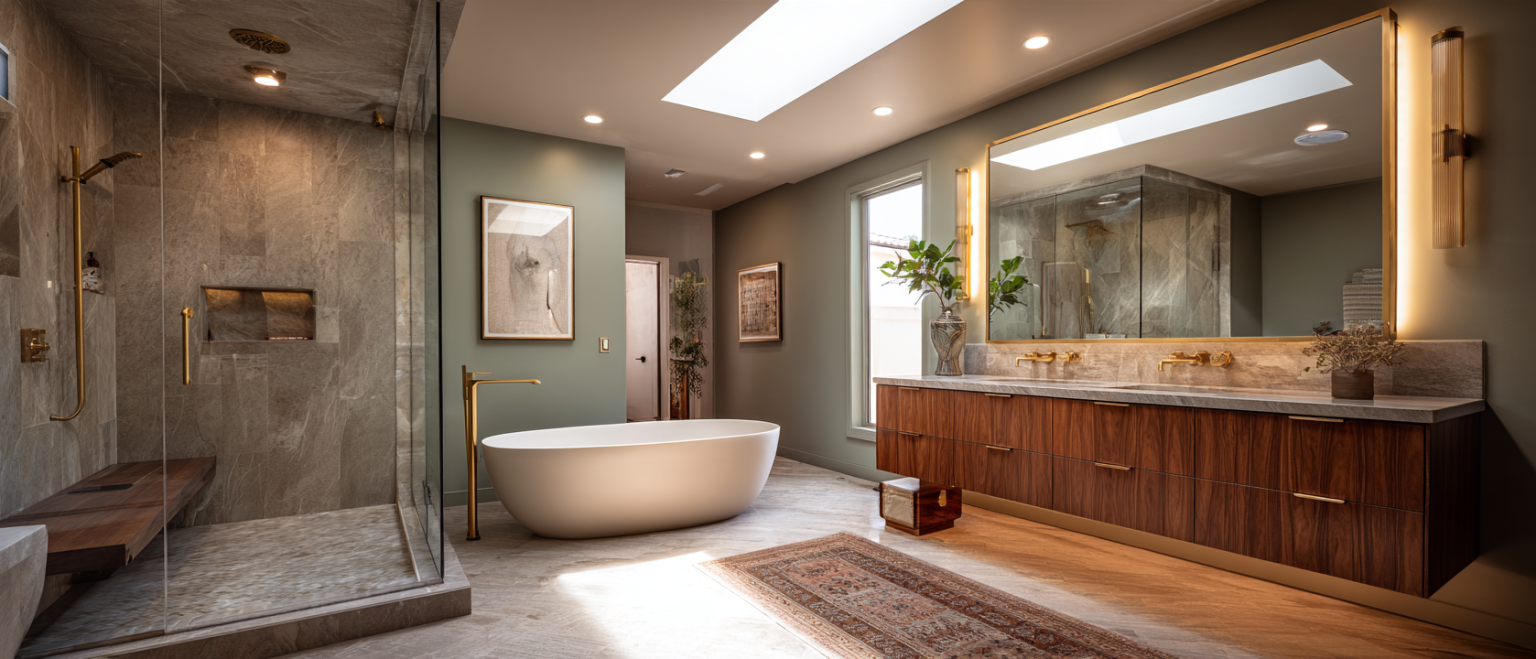
A bathroom remodel follows a predictable order: set your goals and budget, design the layout, confirm permits, order materials, demolish, complete the framing and plumbing and electrical rough-in, pass any required inspections, waterproof and tile, install the vanity and fixtures, and finish with a punch list. On site, the work typically takes 2 to 12 weeks depending on scope, according to Block Renovation’s 2026 cost guide, but planning, design, and approvals can add several months before demolition starts.
At Jean-Prescott Studio, a Newport Beach architecture and design studio serving California homeowners since 2014, we handle the stages that come before construction: layouts, drawings, 3D renderings, and permits. We provide design and permitting only; we do not perform construction. This guide gives you the full sequence, a checklist, and a realistic timeline, with sources for every figure.
Key takeaways
- Order matters. The sequence is plan, design, permits, demolition, rough-in, inspection, waterproofing, tile, fixtures, and punch list.
- Decide before you demolish. Layout, fixtures, and tile choices should be final before the walls open, because changes after rough-in are expensive.
- Plan time off-site, too. Block Renovation’s phase guide puts pre-construction (permits, hiring, gathering materials) at 5 to 12 weeks on average.
- On-site time depends on scope: 2 to 3 weeks for a cosmetic update, 4 to 6 weeks for a standard midrange remodel, and 8 to 12 weeks for a complex one.
- Inspections can pause the schedule when permits are required, so build them into your plan.
Bathroom Remodel Steps in Order
Use this as your master sequence. The trade order follows a home inspector’s guide to bathroom remodels (Jaspector, March 2026), and the planning stages follow Block Renovation.
| # | Step | What happens |
|---|---|---|
| 1 | Set goals and budget | Decide what must change, what you can spend, and a 10% to 20% contingency |
| 2 | Design the layout | Choose the layout, fixtures, and materials, and draw them on plans |
| 3 | Confirm permits | Check what your city requires and apply before work starts |
| 4 | Hire and order materials | Sign a written contract with a licensed contractor and order the long-lead items |
| 5 | Demolition and removal | Remove fixtures, tile, and surfaces; assess what is behind the walls |
| 6 | Framing and structural repairs | Fix damaged framing and add blocking for future grab bars or fixtures |
| 7 | Plumbing rough-in | Install supply and drain lines, shower valve, and any new fixture locations |
| 8 | Electrical rough-in and ventilation | Wiring, GFCI-protected outlets, lighting, and the exhaust fan with its duct |
| 9 | Inspections (if required) | Rough plumbing, rough electrical, framing, and insulation hold points |
| 10 | Waterproofing and backer board | Prepare the shower and wet areas for tile |
| 11 | Tile, paint, and trim | Install tile and flooring, then paint and trim |
| 12 | Fixtures, vanity, and final connections | Install the vanity, toilet, and fixtures; make final electrical and plumbing connections; complete final inspection and punch list |
The most common mistake is jumping to step 5 before steps 2 to 4 are finished. Choosing fixtures after demolition can force changes to plumbing that has already been roughed in.
Bathroom Remodel Checklist
Before construction
- Set a total budget and a 10% to 20% contingency
- Decide your priorities: layout, storage, shower or tub, accessibility
- Measure the existing bathroom and document existing conditions
- Finalize the layout on drawings (a 3D rendering helps)
- Choose fixtures, vanity, tile, and finishes
- Check permit requirements with your building department
- Get at least three detailed quotes based on the same plans
- Verify the contractor’s license with the CSLB and sign a written contract
- Order materials before demolition begins
- Plan for the days when the bathroom is out of service
During construction
- Confirm what is behind the walls after demolition
- Add blocking where grab bars may be needed later
- Review the plumbing rough-in against the plans before walls close
- Schedule and pass required inspections before covering the work
- Confirm waterproofing is complete and tested before tile
- Keep every change in a written change order
At the end
- Walk through with the contractor and make a punch list
- Check for leaks, fixture function, and ventilation
- Complete the final inspection if a permit was issued
- Keep warranties, manuals, and permit records
Step-by-Step: What Happens at Each Stage
Steps 1 to 4: Planning, design, permits, and hiring
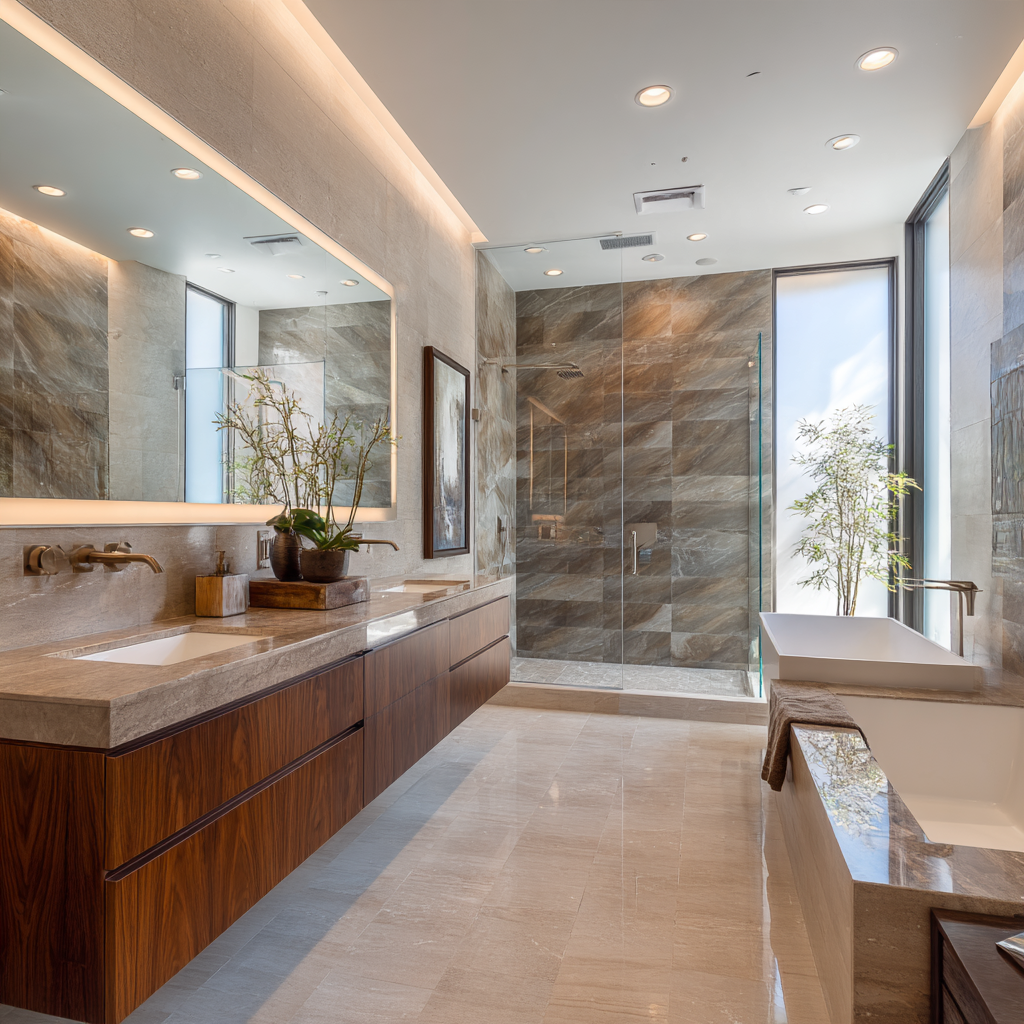
Block Renovation’s phase guide allows at least one week for initial planning, 2 to 6 weeks for design and visualization, and 5 to 12 weeks on average for pre-construction, which includes permits, hiring a contractor, and gathering materials. Design is where you reconcile your wish list with the plumbing and electrical layout, which is why it deserves time.
Permits come before demolition. We explain what needs one in our guide to the bathroom remodel permit in California. For budgeting, see our guide to the bathroom remodel cost in California. Before you sign with a contractor, read our guide to how to start a home renovation for the California contractor rules, including license checks and payment limits.
Step 5: Demolition and removal
Demolition typically takes about one to two weeks, according to Block Renovation, and includes removing fixtures and tile and repairing or replacing outdated systems. This is when hidden problems appear. Block’s cost guide lists water-damaged subfloor, mold, and asbestos or lead in older homes as common surprises, which is why a contingency matters.
Step 6: Framing and structural repairs
If the subfloor is damaged or the layout changes, framing repairs come before any plumbing. This is also the time to add solid wood blocking for grab bars, even if you do not install them yet. It is inexpensive while the walls are open and difficult to add later. See our guide to the accessible bathroom remodel in California for more on blocking.
Steps 7 and 8: Plumbing and electrical rough-in
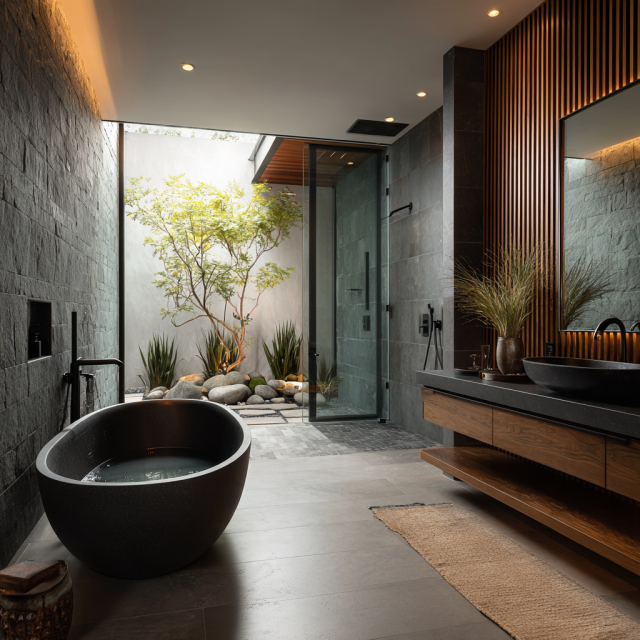
Rough-in is the work inside the walls and floor: supply lines, drains, the shower valve, wiring, lights, GFCI-protected outlets, and the exhaust fan duct. Block Renovation estimates 2 to 4 weeks for this phase. Moving a fixture adds cost: relocating one fixture typically adds $1,000 to $5,000, according to Block’s cost guide. Demolition can also reveal venting that no longer meets code, a reason to review ventilation early.
Step 9: Inspections
If your project requires a permit, inspections happen at set points. Jaspector lists rough plumbing, rough electrical, and framing as common hold points, with insulation inspected where required and a final inspection at the end. The work cannot be covered until it passes, so an inspection can pause the schedule. Requirements vary by jurisdiction, so ask your building department which inspections apply to your scope.

Step 10: Waterproofing and backer board
Before tile goes in, the shower and wet areas are prepared with backer board and a waterproofing system. Jaspector notes that some jurisdictions may want the shower pan filled with water for 24 hours, while others check waterproofing visually before tile starts. A waterproofing failure is expensive to fix after tile is installed, so do not skip this step or let it be rushed.
Step 11: Tile, paint, and trim
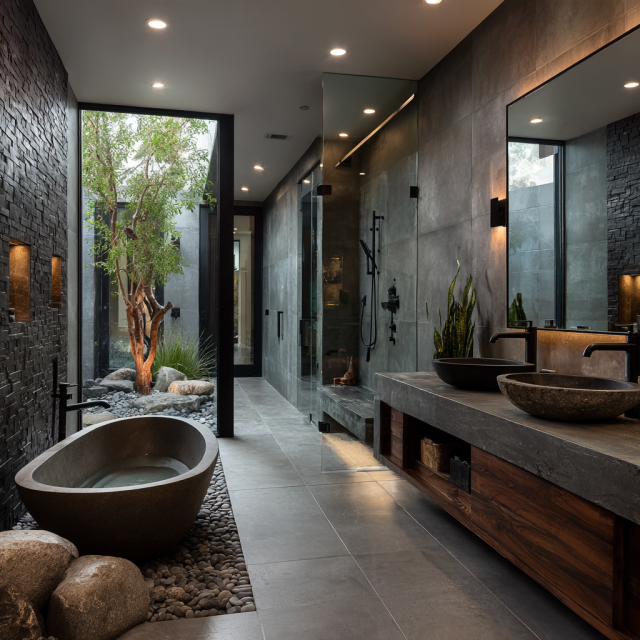
Tile labor typically costs $2,500 to $6,000 and is two to three times the material cost, according to Block Renovation. Painting and trim follow tile in the trade order. Block’s phase guide puts the combined installation of fixtures and finishes at 3 to 5 weeks.
Step 12: Fixtures, vanity, and punch list
The vanity, toilet, and fixtures go in last, followed by final electrical and plumbing connections. Block Renovation allows about 1 to 2 weeks for final touches and the punch list, which is a walkthrough for leaks, fixture function, and safety. Hold the final payment until you are satisfied, as the California Contractors State License Board advises in its construction checklist.
Bathroom Remodel Timeline: How Long Does It Take?
There are two numbers to keep apart: time on site and total time from idea to finish.
Time on site, by scope
Block Renovation’s 2026 cost guide gives these typical durations:
| Scope | Typical time on site |
|---|---|
| Cosmetic project | 2 to 3 weeks |
| Standard midrange remodel | 4 to 6 weeks |
| Complex or structural remodel | 8 to 12 weeks |
Total time, by phase
Block’s phase guide lists the stages of a full renovation:
| Phase | Typical duration |
|---|---|
| Initial planning | At least 1 week |
| Design and visualization | 2 to 6 weeks |
| Pre-construction and approvals | 5 to 12 weeks |
| Demolition and preparation | 1 to 2 weeks |
| Rough-in work | 2 to 4 weeks |
| Installation of fixtures and finishes | 3 to 5 weeks |
| Final touches and punch list | 1 to 2 weeks |
Adding these ranges gives roughly 15 to 32 weeks from first planning to finish, and 7 to 13 weeks of on-site work for a full renovation (our calculation). The guide does not state a total. The two guides were written at different times and measure different things, so their figures do not match exactly. Use the scope table for a quick estimate of time on site and the phase table to plan the full project, and ask your contractor for a written schedule.
What Delays a Bathroom Remodel?

- Permits and approvals. Block’s phase guide lists the duration of building approvals as a main factor in pre-construction time.
- Slow decisions. The guide names the pace of decisions and project complexity as drivers of the schedule.
- Hidden conditions. Damaged subfloor, outdated plumbing, or venting that no longer meets code are repair work added after demolition.
- Material selection and ordering. Choose and order materials before demolition so you are not waiting on a vanity or tile with the room torn open.
- Failed or missed inspections. If a permit is required, work cannot be covered until it passes.
- Change orders. Mid-project changes to the layout or fixtures can force rework of rough-in. Keep them in writing.
Living Without Your Bathroom
On-site work can leave you without a working bathroom for days or weeks, depending on scope. If it is your only bathroom, ask your contractor how long the shower and toilet will be out of service, and plan for a temporary option. Ask about this before the contract is signed, not after.
Do You Need a Permit?
Often yes, especially when you move plumbing, change the layout, or alter walls. California Residential Code Section R105 requires a permit to construct, alter, or repair a structure, with exemptions for finish work such as painting, tiling, cabinets, and countertops. Rules and review times vary by city. Read our full guide to the bathroom remodel permit in California.
Common Bathroom Remodel Mistakes
- Choosing fixtures after demolition. Rough-in has to match the fixtures you picked.
- Skipping the contingency. Hidden damage is common in older homes.
- Covering work before inspection. If a permit is required, it must pass first.
- Rushing waterproofing. It is the hardest step to fix once tile is in.
- Forgetting ventilation. Plan the exhaust fan and duct during rough-in.
- Skipping blocking. Adding it later means opening the walls again.
- Comparing quotes based on different scopes. Quotes only compare when they are built on the same plans.
Frequently Asked Questions
What are the steps in a bathroom remodel?
The steps are goals and budget, layout design, permits, hiring and ordering materials, demolition, framing repairs, plumbing and electrical rough-in, inspections, waterproofing and backer board, tile and finishes, then fixtures, final connections, and a punch list. Exact order varies by project.
What is the first step in a bathroom remodel?
The first step is deciding your goals and budget, including a contingency of 10% to 20%. Then design the layout on paper. Doing both before you hire or demolish lets every contractor bid on the same plans.
How long does a bathroom remodel take?
Block Renovation’s 2026 guide gives 2 to 3 weeks on site for a cosmetic update, 4 to 6 weeks for a standard midrange remodel, and 8 to 12 weeks for a complex one. Planning, design, and approvals can add 5 to 12 weeks or more before demolition begins.
What order should you remodel a bathroom in?
Demolition comes first, then framing repairs, plumbing rough-in, electrical rough-in and ventilation, inspections, waterproofing and backer board, tile, paint and trim, and finally the vanity, fixtures, and final connections. Planning, design, and permits happen before any of it.
Do I need a permit and inspections for a bathroom remodel?
Often yes when you move plumbing, change the layout, or alter walls. When a permit is required, inspections such as rough plumbing, rough electrical, and framing must pass before the work is covered. Rules vary by city, so check with your building department.
Can I stay in my home during a bathroom remodel?
Usually, but you may be without that bathroom for days or weeks. If it is your only bathroom, ask your contractor how long the shower and toilet will be out of service, and plan a temporary option before the contract is signed.
How Jean-Prescott Studio Helps You Plan a Bathroom Remodel
Most delays and overruns start before construction, with an unclear scope. Our team, which includes a California-licensed architect, has completed more than 500 residential and commercial projects since 2014. We help you measure and draw the existing bathroom, study layouts, show you the result in 3D, and manage permit processing and plan corrections. When the plans are approved, you choose a licensed contractor to build.